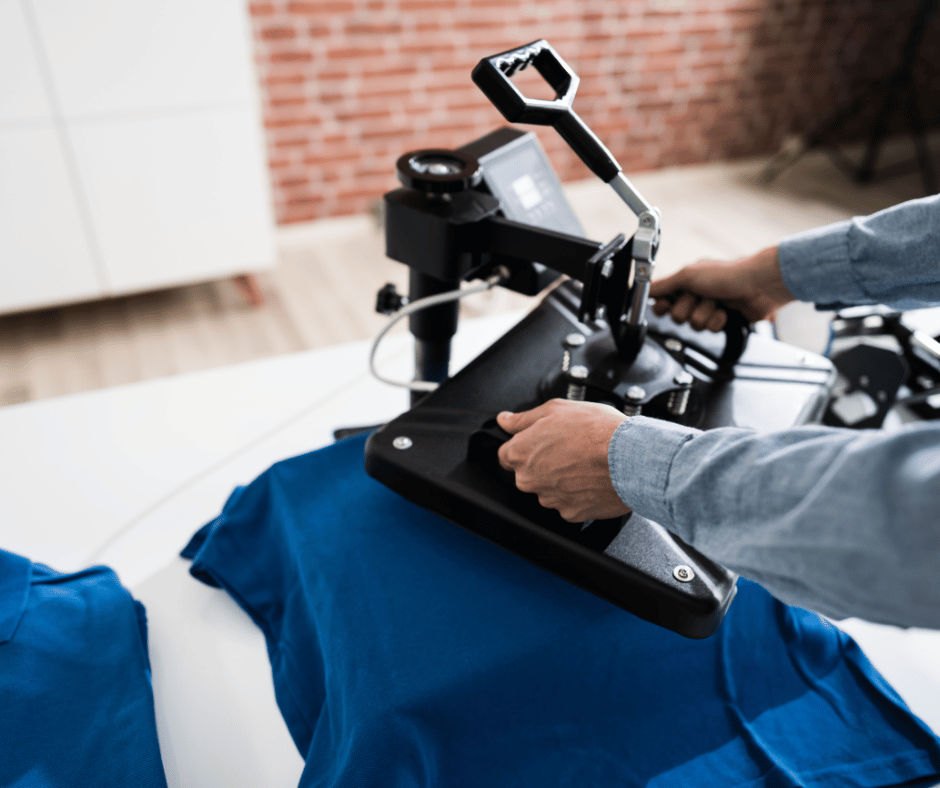
If you’re looking to add a personal touch to your clothing, accessories, or home decor, using heat-transfer vinyl is a fantastic option. Oracal is a well-known brand that offers high-quality heat transfer vinyl products, which are easy to use and yield professional-looking results. Whether you’re a beginner or have some experience in crafting, this step-by-step guide will help you apply Oracal heat transfer vinyl like a pro.
Gather the Necessary Materials
To get started, gather all the materials you’ll need for the project. The following is a list of what you require:
Oracal heat transfer vinyl: Choose the colour and type of vinyl that best suits your project.
Cutting machine: A cutting machine, such as a Cricut or Silhouette, is highly recommended for precise and intricate designs. Alternatively, you can cut the vinyl by hand using scissors or an X-Acto knife.
Weeding tool: This tool will help you remove the excess vinyl from your design.
Heat press or iron: A heat press is the preferred option for professional and long-lasting results. However, if you don’t have a heat press, a household iron can be used as a substitute.
Teflon or silicone sheet: This sheet acts as a protective barrier between the vinyl and the heat source, preventing any direct contact.
Parchment paper: If you’re using an iron, parchment paper will protect both the vinyl and the iron’s surface.
Garment or item to apply the vinyl to: Choose the appropriate fabric or surface that is suitable for heat application.
Design and Cut
Using design software, create or select the design you want to apply to your garment or item. If you’re using a cutting machine, import the design into its software and adjust the settings according to the Oracal heat transfer vinyl’s specifications. Make sure to mirror the design horizontally before cutting, especially if it includes text or any other directional elements.
Weed the Excess Vinyl
After cutting the design, carefully remove the excess vinyl from around the design using a weeding tool. Take your time to ensure that only the desired elements of the design remain on the carrier sheet. This process is particularly crucial for intricate designs.
Preheat the Heat Press or Iron
If you’re using a heat press, preheat it to the recommended temperature specified by Oracle for the specific type of vinyl you’re using. If you’re using an iron, set it to the highest heat setting suitable for your garment or item, without steam. Allow the heat press or iron to reach the desired temperature.
Position the Vinyl on the Garment or Item
Place the garment or item on a flat and heat-resistant surface. If you’re applying the vinyl to a garment, it’s recommended to pre-press the area briefly to remove any wrinkles or moisture. Position the weeded vinyl design on the desired spot of the garment or item, making sure it’s centred and aligned as intended.
Apply Heat and Pressure
Cover the vinyl design with a Teflon or silicone sheet to protect it from direct heat. If you’re using an iron, place a sheet of parchment paper over the vinyl and press down firmly with the heated iron for the recommended duration. Apply consistent pressure and make sure to cover the entire design area.
If you’re using a heat press, follow the manufacturer’s instructions for the appropriate time and temperature settings. Place the Teflon or silicone sheet on top of the vinyl design and close the heat press. Apply the recommended pressure and let the heat press do its job. Once the time is up, open the press and remove the Teflon or silicone sheet.
Peel the Carrier Sheet
Allow the vinyl to cool down for a few seconds or as per the manufacturer’s guidelines. While it’s still warm, carefully peel off the carrier sheet from the vinyl. Start from one corner and peel back slowly, ensuring that the vinyl adheres securely to the garment or item. If any part of the vinyl lifts with the carrier sheet, gently lay it back down and press it again with the heat press or iron.
Complete the Application Process
Once you’ve removed the carrier sheet, examine the applied vinyl for any loose edges or areas that haven’t adhered properly. If necessary, cover the design with the Teflon or silicone sheet again and apply additional heat and pressure. Make sure not to overheat the vinyl, as it may cause damage or affect the adhesion.
Final Touches and Care Instructions
Allow the garment or item to cool completely before wearing or using it. Check the manufacturer’s instructions for any specific care guidelines regarding washing and drying. In general, turn the garment inside out before washing, use mild detergents, and avoid using bleach or harsh chemicals.
With this step-by-step guide, you’re now equipped to apply Oracal heat transfer vinyl like a pro. Remember to take your time, follow the instructions carefully, and practice on scrap fabric or items before working on your final project. With some creativity and patience, you’ll be able to create personalized and professional-looking designs using Oracal heat transfer vinyl. Happy crafting.


